



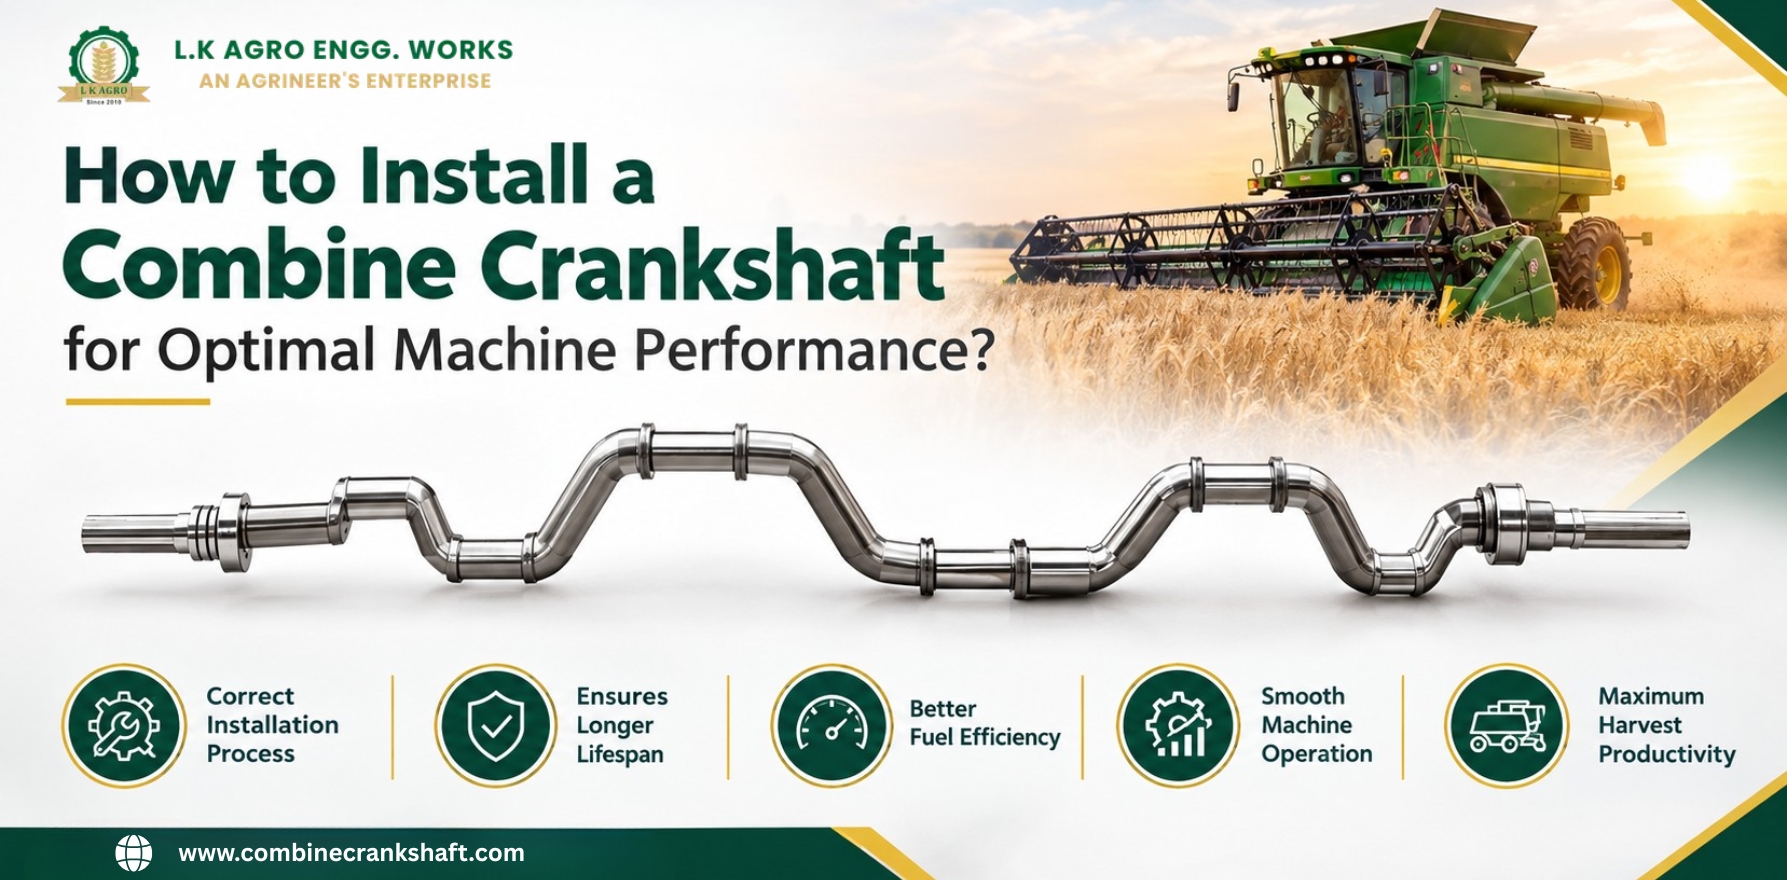
A Combine Crankshaft plays an important role in the movement and separation process of a conventional combine harvester. In straw walker systems, the crankshaft converts rotary motion from the drive system into the controlled oscillating movement needed to move crop residue through the straw walkers. Proper installation is therefore essential for smooth operation, balanced movement, efficient separation, and reduced mechanical stress.
A poorly installed crankshaft can lead to vibration, uneven straw walker movement, bearing wear, abnormal noise, and unnecessary downtime. While the exact installation procedure varies between combine models, the basic principles of inspection, alignment, bearing installation, clearance, and final testing remain important.
This guide explains how to approach Install a Combine Crankshaft correctly and what to check before putting the machine back into operation.
What Does a Combine Crankshaft Do in a Harvester?
In a conventional combine harvester, straw walkers help transport and separate crop residue after the threshing process. The crankshaft provides the mechanical movement required by these walkers.
The crankshaft rotates around its main axis while its offset or crank sections create a circular motion. The straw walkers are connected to these crank sections through suitable bearing and mounting arrangements. As the shaft rotates, the walkers move in a controlled oscillating path.
This movement helps carry straw and remaining crop material toward the rear while allowing separated grain to fall through the openings in the walker surfaces. Technical research on straw walker systems shows that crankshaft speed, crank throw, phase relationship, and other kinematic factors can influence separation performance.
For this reason, correct installation is more than simply placing a shaft inside the machine. Alignment and correct positioning are critical.
Inspect the Combine Before Crankshaft Installation
Before installing a Straw Walker Crankshaft, make sure the machine is safely prepared and the surrounding components have been inspected.
Park the combine on a stable, level surface and shut down the engine completely. Follow the manufacturer's lockout and safety instructions before working around moving components.
Remove guards or covers only as required by the machine's service procedure. Make sure stored mechanical energy, belts, chains, and other drive components cannot move unexpectedly.
Next, inspect the crankshaft mounting area. Look for damaged bearing housings, worn mounting points, cracks, excessive dirt, or signs of previous misalignment.
The shaft itself should also be checked for visible damage, excessive wear, bent sections, damaged bearing surfaces, and abnormal marks around the crank areas.
Check Bearings and Related Components Before Fitting
The crankshaft does not operate independently. Bearings, mounting flanges, pulley or drive components, spacers, fasteners, and straw walker connections all contribute to proper operation.
Before assembly, inspect the relevant components and replace worn or damaged items according to the combine manufacturer's specifications.
Pay particular attention to bearings. A worn bearing can create excessive play and vibration even when the crankshaft itself is in good condition.
The relationship between the crankshaft, bearings, and straw walkers also needs to be correct. Combined service procedures commonly specify bearing positions, shaft centring, clearances, and tightening sequences rather than simply requiring the shaft to be installed in place.
Position the Crankshaft Correctly Inside the Machine
Once the machine and components are prepared, position the crankshaft according to the manufacturer's installation procedure.
The shaft must be correctly centred between the combine's side structures. Incorrect positioning can cause uneven loading on bearings and may affect the movement of individual straw walkers.
On some machines, the crankshaft is installed from one side and then positioned through the corresponding bearing assemblies. Other designs may require bearings or mounting flanges to be loosely positioned before final alignment.
Do not assume that every combine uses the same arrangement. Always use the service specifications for the specific make and model.
The general principle is simple: the shaft should sit in its correct operating position without binding or excessive side movement.
Align Bearings Before Final Tightening
Bearing alignment is one of the most important stages when you install a Combine Crankshaft.
Do not immediately tighten every mounting bolt as soon as the shaft is positioned. Depending on the design, bearings may need to remain slightly loose while the shaft is centred and aligned.
Rotate the crankshaft by hand where safe and practical. Check whether it turns smoothly through its operating movement.
If the shaft becomes tight at a particular position, stop and investigate. Possible causes include incorrect bearing positioning, shaft misalignment, interference with a surrounding component, or incorrect clearance.
Some manufacturer procedures specifically require bearings to be positioned and tightened in a particular sequence. For example, service information for straw walker systems describes installing shafts and bearings while maintaining specified clearances before completing final fastening.
Install Straw Walkers With Correct Clearance
After the crankshaft is correctly positioned, the straw walkers can be connected according to the machine's service procedure.
Clearance between adjacent walkers and surrounding structures should be checked carefully. The walkers must be able to move through their complete operating path without contacting the combine frame, neighbouring walkers, or other components.
The crankshaft's offset sections must also correspond correctly with the required walker positions.
This is especially important because multiple straw walkers may be driven by the same shaft. Their positions and phase relationships affect how crop material is transported through the separation system.
Engineering studies have found that the phase relationship and crank throw of straw walker systems can affect grain separation performance, meaning incorrect assembly can have consequences beyond simple mechanical noise or vibration.
Check the Combine Harvester Crankshaft Parts
When people search for Combine Harvester Crankshaft Parts, they may be looking for the components associated with a crankshaft assembly rather than the complete shaft itself.
These may include bearing assemblies, mounting hardware, pulleys, spacers, collars, retaining components, and connections between the crankshaft and straw walkers, depending on the machine design.
However, these components should not be selected only by appearance or general dimensions. Combine models can use different specifications, dimensions, mounting arrangements, and clearances.
For this reason, identify the exact combine model and compare the required specifications with the manufacturer's service information before fitting any component.
Tighten Fasteners According to Manufacturer Specifications
After the shaft, bearings, and straw walkers are correctly aligned, tighten the relevant fasteners according to the manufacturer's specified torque values and sequence.
Avoid estimating torque by hand, especially for components that carry rotating or reciprocating loads.
Over-tightening can damage bearings, distort mounting components, or create unwanted resistance. Under-tightening can allow movement, looseness, or misalignment during operation.
If the original fasteners have specific locking features, replace or reuse them only according to the manufacturer's instructions.
Some combine service procedures also specify replacing self-locking nuts after their locking effectiveness has reduced.
Connect the Drive System and Check Alignment
Once the crankshaft assembly is secure, reconnect the relevant drive components.
Depending on the combine design, this may involve a pulley, belt, chain, variator, or another mechanical drive arrangement.
Check that the drive component is correctly positioned and aligned with the rest of the system. A misaligned belt or pulley can introduce additional vibration and load into the crankshaft assembly.
The crankshaft should receive the correct rotational input specified for that machine. Do not increase operating speed simply to compensate for poor separation performance.
In modern straw walker systems, the crankshaft is mechanically connected to the drive system to transform continuous rotary motion into the oscillating movement of the straw walkers.
Rotate and Inspect the Assembly Before Starting
Before starting the combine, manually check the completed assembly as far as the manufacturer's safety procedure allows.
Look for:
|
Inspection Point |
What to Check |
|
Crankshaft rotation |
Smooth movement without binding |
|
Bearings |
Correct seating and no excessive play |
|
Straw walkers |
Correct position and clearance |
|
Drive components |
Correct alignment and secure fitting |
|
Fasteners |
Tightened to specified torque |
|
Surrounding frame |
No contact or interference |
|
Guards |
Correctly refitted before operation |
If anything appears unusual, do not start the machine until the issue has been identified and corrected.
Test the Combine at Low Speed First
After installation, the first operational test should be controlled.
Start the combine only after all guards and safety components have been correctly reinstalled. Observe the crankshaft and straw walker system for unusual vibration, knocking, scraping, or irregular movement.
Listen for new noises and check whether the straw walkers are moving evenly.
If the machine produces excessive vibration or abnormal noise, shut it down and investigate rather than continuing operation.
A correctly installed crankshaft should allow the straw walker system to operate smoothly within the manufacturer's specified operating conditions.
Common Combine Crankshaft Installation Mistakes
Several mistakes can reduce machine performance after crankshaft installation.
Ignoring shaft alignment: Even a correctly manufactured crankshaft can operate poorly if its bearings are misaligned.
Incorrect bearing positioning: Bearings need to be installed in their specified locations and adjusted correctly.
Skipping clearance checks: Insufficient clearance can cause contact during operation.
Using incorrect torque: Fasteners that are too loose or too tight can create mechanical problems.
Ignoring phase relationships: Multiple straw walkers may need specific positioning relative to the crankshaft.
Starting without a manual inspection: Turning and checking the assembly before operation can reveal problems before they become expensive failures.
How Proper Installation Improves Machine Performance?
Correct crankshaft installation supports several important aspects of combine operation.
-
First, it helps maintain smooth straw walker movement. This supports the consistent transportation of crop material through the separation section.
-
Second, proper alignment reduces unnecessary stress on bearings and related components.
-
Third, correct positioning helps maintain the intended movement pattern of the straw walkers.
-
Finally, proper installation can reduce avoidable vibration, premature wear, and unplanned downtime.
The crankshaft is therefore an important part of the overall mechanical system rather than an isolated component.
When Should a Crankshaft Be Inspected?
Regular inspection is particularly important before and during the harvesting season.
Check the crankshaft assembly for signs such as:
-
Unusual vibration
-
Knocking or metallic noises
-
Excessive bearing play
-
Visible cracks or damage
-
Uneven straw walker movement
-
Abnormal wear around mounting points
-
Drive belt or pulley misalignment
-
Reduced separation performance
If any of these signs appear, stop the machine safely and inspect the system before continuing operation.
Choose the Right Crankshaft for Your Machine
Installation quality starts with using a crankshaft that is appropriate for the intended machine and application.
A crankshaft should not be selected only on the basis of its overall appearance. Dimensions, crank arrangement, mounting points, bearing locations, and operating requirements all matter.
With 40+ years of experience, LK Agro Engg Works has established expertise in manufacturing agricultural machinery components. Their combine parts are designed to fit John Deere, New Holland, and Kartar brand combines, helping customers find suitable replacement components for their machines.
Based in Ludhiana, Punjab, the company serves agricultural machinery requirements with a focus on reliable engineering and compatible parts. For specific installation dimensions, torque values, clearances, and operating specifications, always refer to the service documentation for the exact combine harvester model.
Frequently Asked Questions About Crankshaft Installation
1. How do you install a combine crankshaft correctly?
To install a combine crankshaft correctly, first secure the machine and inspect the shaft, bearings, and mounting points. Position the crankshaft according to the manufacturer's specifications, align the bearings, check straw walker clearance, and tighten all fasteners to the recommended torque.
2. Why is proper crankshaft alignment important?
Proper crankshaft alignment helps ensure smooth rotation and consistent straw walker movement. Incorrect alignment can increase vibration, place additional load on bearings, cause uneven movement, and contribute to premature wear of connected components.
3. What are the signs of a damaged combine crankshaft?
Common signs include unusual vibration, knocking or metallic noises, excessive bearing movement, visible cracks, uneven straw walker movement, and abnormal wear around the crankshaft or mounting areas. These symptoms should be inspected before continued operation.
4. How often should a combine crankshaft be inspected?
A combine crankshaft should be inspected during routine maintenance and before the harvesting season. It is also important to inspect it whenever unusual vibration, noise, reduced separation performance, or excessive bearing movement is noticed.
5. What can cause a combine crankshaft to fail?
Crankshaft problems can be caused by excessive wear, damaged bearings, poor alignment, incorrect clearances, overloading, inadequate maintenance, or prolonged operation with worn connected components. Following the manufacturer's maintenance and operating specifications can help reduce these risks.